QuietRock Installation Guide: Everything You Need to Know for Your Space
Ron Hogan Drywall is a QuietRock Installation Expert. In today’s fast-paced world, finding solace in your own space is essential. Perhaps you’ve heard of QuietRock as a soundproofing solution and are curious about its installation process. Whether you’re looking to improve your home’s serenity or create a studio space, this article is for you. We’ll walk you through everything you need to know to make your rooms quieter with QuietRock.
1. Understanding QuietRock for Your Needs
QuietRock, also known as soundproof drywall, offers an innovative way to reduce noise between rooms. Unlike traditional drywall where you might need multiple layers or added materials, QuietRock does the job in just one layer, making your installation process smoother and more efficient.
2. Why Should You Opt for QuietRock?
2.1. Efficiency – With its single-layer application, you save time, which means your quiet space can be ready sooner than you might think.
2.2. Performance – Imagine achieving superior noise reduction without the hassle of multiple drywall layers. That’s what QuietRock offers.
2.3. Cost-effective – While you might spend a bit more upfront, think of the money you’ll save on labor and additional soundproofing materials in the long run.
3. Choosing the Right QuietRock for Your Space
QuietRock has various options, ensuring you find the perfect fit for your needs:
3.1. QuietRock 500: Ideal for most residential applications. If you’re a homeowner, this could be your go-to.
3.2. QuietRock 530: Are you setting up a theater or studio? This high-performance option might be what you’re looking for.
3.3. QuietRock ES: If you’re looking for an even simpler installation, this variant has easy-score technology just for you.
4. Preparing for Your Installation
- Tools & Materials You’ll Need:
- QuietRock panels
- Acoustic sealant
- Screws
- Tape measure
- Utility knife
- T-square
- Saw
- Screw gun
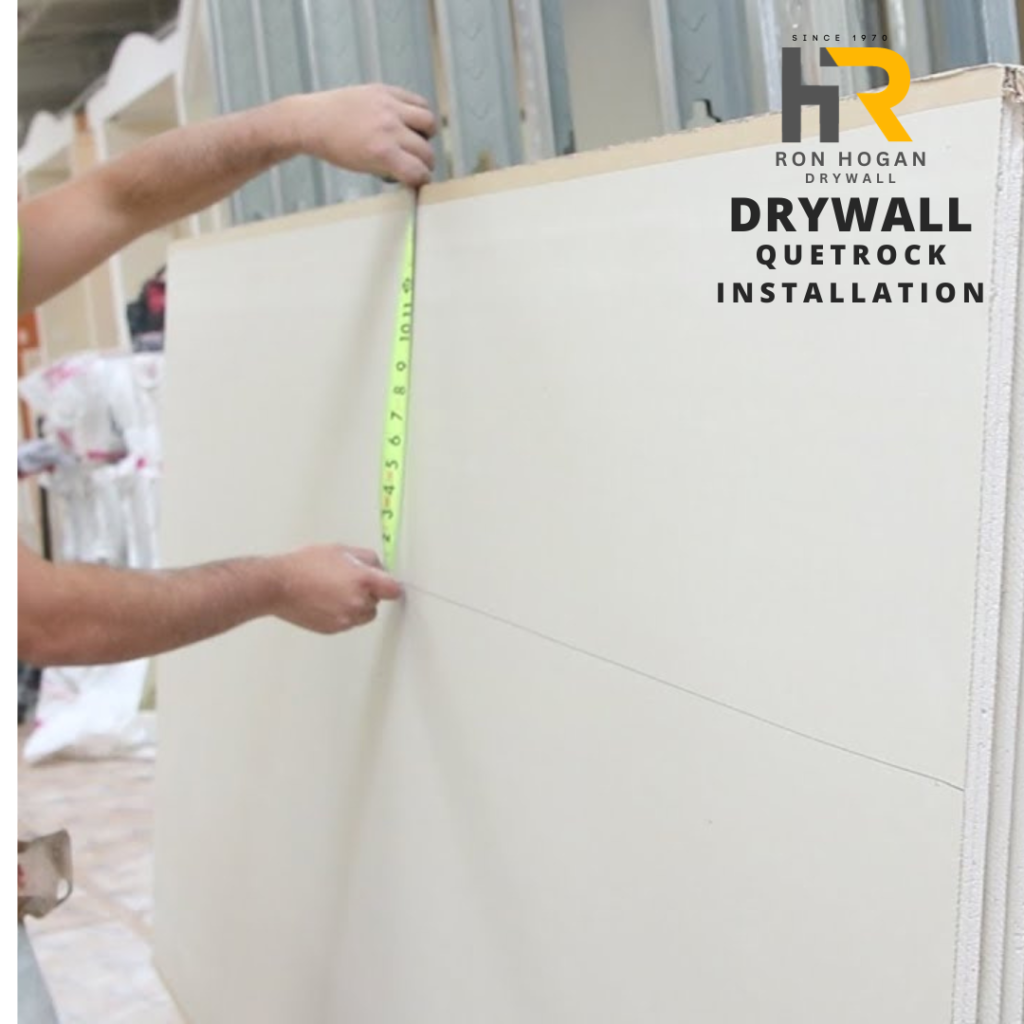
4.2. Measure & Plan: Before diving in, measure your space. Take note of outlets, windows, and doors to ensure your panels fit perfectly.
5. Your Step-by-Step Installation Guide (Just in Case You Would Like to Tackle Your Own Project)
5.1. Inspecting the Studs: Before installing, make sure your studs are level. Adjust them if needed to ensure your QuietRock sits perfectly.
5.2. Cutting Your Drywall: Depending on your room’s dimensions, cut your QuietRock panels using a utility knife or saw. If you’ve chosen the QuietRock ES, its easy-score technology will make this even easier for you.
5.3. Applying Acoustic Sealant: This is a step you shouldn’t skip. By applying an acoustic sealant to the studs, you’re enhancing your wall’s soundproofing capabilities.
5.4. Attaching the Drywall: Now, align your QuietRock panel and begin attaching it to the studs. Remember, you want your space to be as quiet as possible, so ensure you’re screwing them in securely, about 8 inches apart.
5.5. Finishing Up: Once your panels are up, you’ll want to tape the seams and apply joint compound to make everything smooth. When it dries, sand it down, and you’re ready to enjoy your quieter space!
6. Enhancing Your Soundproofing
6.1. Double Up: One layer is great, but if you’re aiming for maximum soundproofing, consider a second layer of QuietRock.
6.2. Isolation Clips: By using isolation clips, you can further reduce noise.
6.3. Seal Everything: Double-check around outlets and switches. Using acoustic sealant here ensures there are no weak spots in your soundproofing.
7. Why QuietRock Over Other Options?
It’s important for you to know where QuietRock stands against other soundproofing methods:
7.1. Multiple Layers of Standard Drywall: This method is effective but think of the added thickness and extra labor.
7.2. Resilient Channels: They’re good, but combining them with QuietRock can give you even better results.
7.3. Mass Loaded Vinyl: This material can be paired with QuietRock to enhance soundproofing.
8. Caring for Your QuietRock Walls
Once you’ve installed your QuietRock, you’ll treat it just like any other drywall. If there are any dents or holes, simply patch them up, and you’re good to go.
9. Imagining the Possibilities
Beyond just a peaceful home, imagine the other possibilities for your QuietRock:
9.1. Studios: Achieve crystal clear sound for your recordings.
9.2. Offices: Have confidential meetings without disturbances.
9.3. Home Theaters: Binge-watch without the fear of waking up the whole house.

