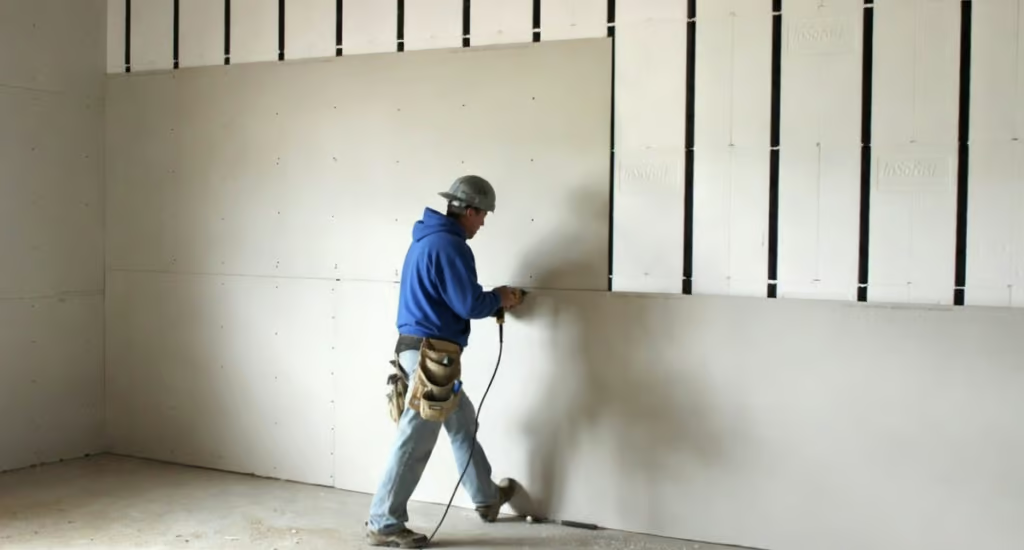
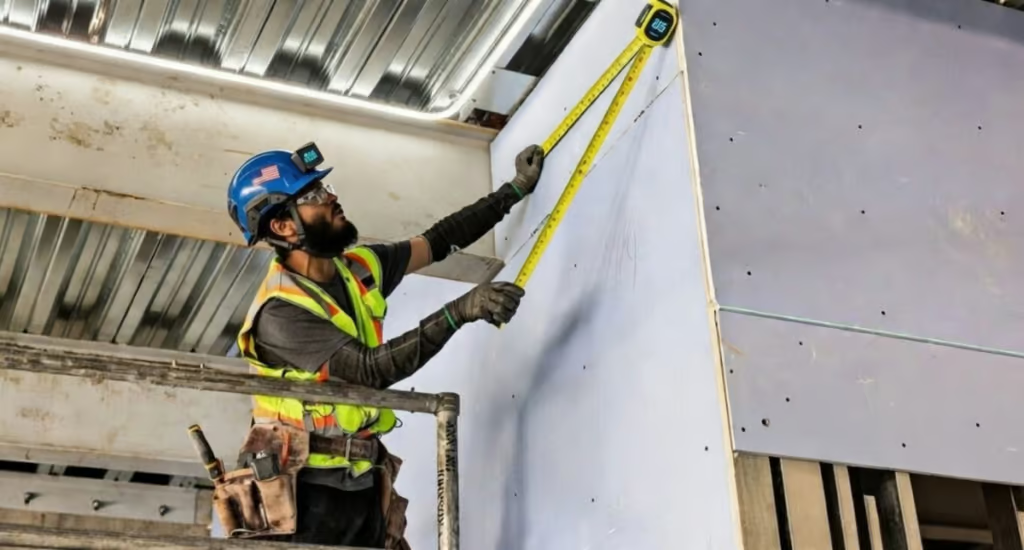
Sheetrock Installation

Drywall Installation | Estimate, Cost, FAQ’s

At Ron Hogan Drywall, we pride ourselves on providing top-quality drywall installation services tailored to your residential and commercial needs.

We have been a drywall installation specialist since 1970!

With years of experience in the industry, our professional team ensures you a smooth, durable, and flawless finish every time. Whether you’re building a new property, renovating an old space, or constructing a commercial office, we have the skills and equipment necessary to meet your specific requirements.

Drywall Installation FAQ’s

How long does it take to drywall a 2000 sq ft house?

Basic Sheetrock Installation:

  • For a standard 2,000 square foot house with straightforward design, a skilled crew of (4 Journeymen Hangers) can typically hang drywall at a rate of about 4,000 square feet per day. This includes attaching drywall sheets to your walls and ceilings using screws. Note: When we say a “2,000 square foot house” that is just the ceiling square footage. That is NOT including the square feet of your walls. SO TO SHEETROCK YOUR ENTIRE 2,000 SQUARE FOOT HOME IT WOULD TAKE 2 DAYS.

Factors Influencing Your Timeline

Several factors influence the time it takes to drywall your house, and understanding these variables is key to estimating your duration accurately.

1. Size of Your House:

  • The square footage of your house is perhaps the most obvious determinant. Larger houses will naturally require more drywall and, consequently, more time for installation.

2. Complexity of Your Design:

  • Intricate architectural designs, vaulted ceilings, curved walls, or irregular room shapes can complicate the drywall installation process, potentially extending your timeline.

3. Skill and Experience of Your Workers:

  • The proficiency of the construction crew handling your drywall installation greatly impacts the speed and efficiency of the process. Experienced professionals tend to work more swiftly and with greater precision.

4. Availability of Your Materials:

  • Delays in procuring necessary materials such as drywall sheets, joint compound, screws, and tape can significantly hinder progress. Ensuring a steady supply of materials is vital for maintaining momentum.

5. Preparation Work:

  • Preparing your space for drywall installation, including framing, insulation, electrical wiring, and plumbing, is a prerequisite. Any delays or complications during these preparatory stages can cascade into delays for the drywall installation itself.

What’s Next After The Drywall is Installed?

1. Taping:

  • Taping is the foundational step in drywall finishing, essential for concealing joints and creating a seamless surface. You embed paper or fiberglass mesh tape into the joints between drywall panels using joint compound or “mud.” Properly executed taping ensures that cracks and gaps are eliminated, providing a sturdy foundation for your subsequent finishing layers.

2. Topping:

  • Topping, also known as “second coating,” involves applying a second layer of joint compound over the taped joints to further conceal imperfections and create a smooth, uniform surface. This step is crucial for achieving a professional-grade finish, as it fills in any depressions or inconsistencies left after taping.

3. Skimming:

  • Skimming, also referred to as “final coating,” is the process of applying a thin layer of joint compound over the entire surface of your drywall to create a uniform, smooth finish. This step is essential for achieving a flawless appearance, free of visible seams, bumps, or imperfections.

4. Texturing:

  • Texturing adds visual interest and dimension to your drywall surfaces, concealing minor imperfections and enhancing aesthetic appeal. There are various texturing techniques to choose from, including stippling, knockdown, popcorn, and orange peel, each offering a unique look and texture.
 

What is the Best Size Drywall to Use?

  • Half-inch (1/2″) drywall stands out as the go-to choice for its versatility, frequently found in the 16-inch on-center interior walls of many homes. This thickness strikes a fine equilibrium between sturdiness and weight. On the other hand, 5/8-inch drywall, though weightier, excels in resisting sagging, particularly in ceilings and in 24-inch on-center interior walls. HERE AT RON HOGAN DRYWALL HIGHLY RECCOMEND USING 5/8″ DRYWALL THROUGH YOUR ENTIRE HOME OR BUSINESS.
 

Why We Use 5/8″ Drywall over 1/2″ Drywall

  1. Improved Fire Resistance: One of the most significant advantages of 5/8″ drywall is its enhanced fire resistance. Its thicker composition provides better protection against fire compared to 1/2″ drywall. This can be crucial in buildings where fire safety is a primary concern, such as your commercial properties or multi-family dwellings.
  2. Better Soundproofing: Thicker drywall typically offers improved soundproofing capabilities. If you’re soundproofing a room or building, 5/8″ drywall can help reduce noise transmission more effectively than its thinner counterpart. This can be beneficial in your residential applications, especially in areas where noise control is essential, such as your bedrooms or home offices.
  3. Increased Durability: The additional thickness of 5/8″ drywall can make it more resistant to impacts and dents compared to 1/2″ drywall. This makes it a better choice for areas that are prone to wear and tear, such as your hallways, corridors, or rooms with high traffic.
  4. Enhanced Rigidity: Thicker drywall tends to be stiffer and less prone to sagging or warping over time. This can be advantageous for ceilings or walls that require added structural integrity, particularly in your larger spaces or areas with adverse conditions like high humidity.
  5. Code Compliance: In some jurisdictions, building codes may require the use of 5/8″ drywall in certain applications, particularly for fire-rated assemblies or in buildings with specific construction requirements. Using 5/8″ drywall ensures compliance with these regulations and provides added peace of mind regarding your safety and structural integrity.

How Much Does a Resilient Channel Help with Sound?

What is a Resilient Channel?

  • A resilient channel is a thin metal or metal-and-wood strip that is attached to the framing of a wall or ceiling. Its primary purpose is to decouple drywall from the structure, thereby reducing the transmission of sound waves through the building materials. By breaking the direct connection between the drywall and the framing, resilient channels help to dampen vibrations and minimize the transfer of sound from one side of the wall or ceiling to the other.

How Does it Work?

  • The effectiveness of resilient channels lies in their ability to isolate vibrations. When sound waves encounter a surface, they cause the material to vibrate. Without any form of isolation, these vibrations easily travel through the structure, resulting in sound transmission to adjacent rooms or spaces. By introducing a resilient channel, however, the vibrations are absorbed and dispersed along the channel’s length, preventing them from traveling directly through the framing and into the adjoining areas.

Advantages of Resilient Channels

Improved Sound Isolation: Resilient channels significantly reduce the transmission of airborne and impact noises, making them an invaluable asset in environments where privacy and quiet are essential, such as residential buildings, recording studios, or offices.
 
  • Ease of Installation: While the installation of resilient channels requires precision and attention to detail, it is a relatively straightforward process compared to other soundproofing techniques. Once properly installed, they integrate seamlessly into the wall or ceiling assembly.
  • Cost-Effectiveness: When compared to more complex soundproofing methods such as double stud walls or acoustic insulation, resilient channels offer a cost-effective solution for achieving satisfactory sound isolation.
  • Space Efficiency: Unlike bulky soundproofing materials that may encroach upon valuable interior space, resilient channels add minimal thickness to the wall or ceiling assembly, making them ideal for projects where space optimization is crucial.

Drywall Installation Cost

The cost of drywall installation Including: taping, topping, skimming, texturing, material and clean-up is $2.75-$3.75 per square foot. 

Factors Affecting Drywall Installation Cost:

1. Size of the Area: The square footage of the space to be drywalled is a primary determinant of cost. Larger areas require more materials and labor, thus increasing the overall expense.

2. Type of Drywall: Various types of drywall are available, each with different characteristics and price points. Standard drywall is the most common and affordable option, while specialty types like moisture-resistant or fire-resistant drywall may cost more.

3. Thickness of Drywall: Drywall thickness affects its durability and insulation properties. Thicker drywall generally costs more upfront but may offer long-term benefits in terms of soundproofing and structural integrity.

4. Accessibility: Factors such as ceiling height, wall obstructions, and the complexity of the installation can impact labor costs. Difficult-to-reach areas may require additional time and effort, resulting in higher expenses.

5. Finishing Requirements: Finishing processes, including taping, mudding and sanding, significantly contribute to the overall cost. Complex finishes or decorative techniques may incur additional charges.